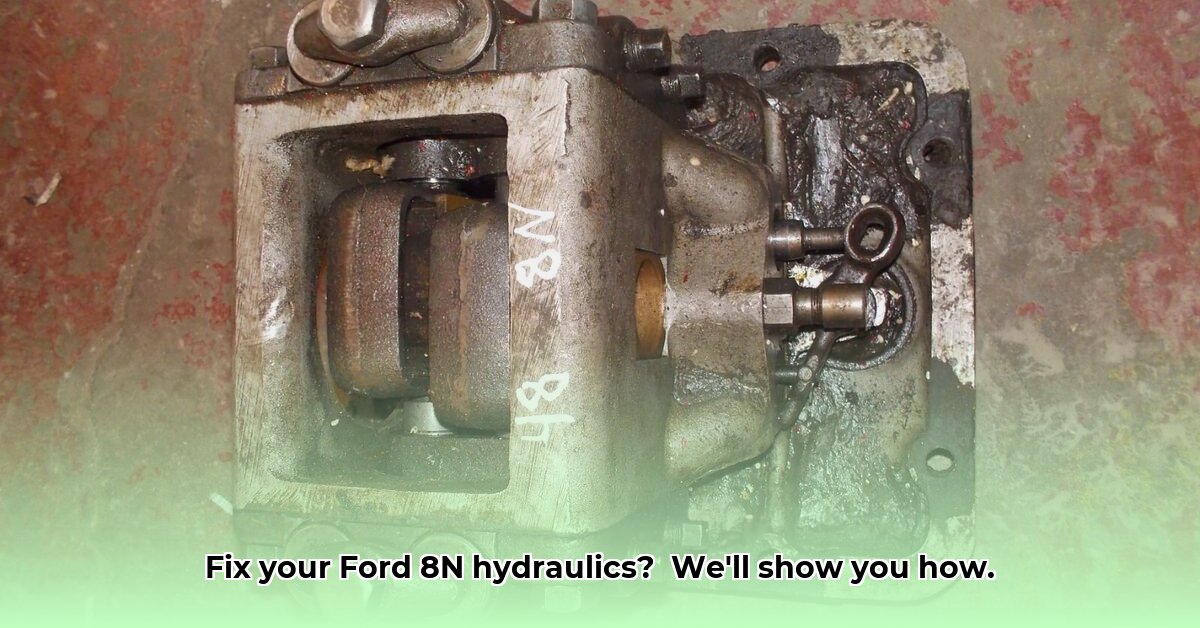
Is your Ford 8N tractor's hydraulic system malfunctioning? Experiencing a sluggish lift or complete hydraulic failure? This comprehensive guide provides step-by-step instructions to diagnose, repair, and maintain your 8N's hydraulic pump, restoring its power and efficiency. We'll cover everything from identifying the problem to preventative maintenance, ensuring your tractor's hydraulic system remains in top condition. For more information on Ford tractor hydraulic systems, check out this helpful resource: Ford 3000 Hydraulic Pump.
Understanding Your 8N's Hydraulic System
Before tackling repairs, understanding your 8N's hydraulic system is crucial. Think of it as a closed loop; oil is pumped under pressure to operate the lift mechanism. The pump is the heart of the system; any issues here directly impact the lift's performance. Common problems manifest as a weak or non-functional lift, or hydraulic fluid leaks. Did you know that a consistent maintenance schedule can extend the life of your hydraulic system by up to 30%?
Identifying the Problem: Diagnosing Hydraulic Pump Issues
Accurately diagnosing the problem is the first step. Begin with a comprehensive inspection of the pump and all hydraulic lines, looking for signs of leaks (drips or wet spots), low hydraulic fluid levels in the reservoir, and unusual noises (whining, groaning) indicating internal wear. How does the lift perform? A weak lift suggests minor issues, whereas complete failure usually indicates a significant pump problem.
Finding the Right Parts: Sourcing Replacement Components
Finding parts for your vintage tractor might seem daunting, but many suppliers specialize in classic Ford parts. Online retailers and local shops specializing in vintage equipment restoration are valuable resources. When ordering, meticulously verify part numbers to ensure accurate fitment, remembering that some parts have cross-referencing between models and manufacturers. Consider a complete overhaul kit for pumps showing significant wear; it’s often more cost-effective than buying individual components.
Tooling Up and Safety Precautions: Preparing for the Repair
Safety is paramount when working with hydraulic systems. High-pressure hydraulic fluid poses serious injury risks. Gather these essential tools: wrenches (various sizes), sockets, a drain pan, safety glasses, gloves, and shop rags. Before starting, release system pressure by consulting the owner's manual; failing to do so could result in serious injury.
Repairing or Replacing Your Hydraulic Pump: A Step-by-Step Approach
Repairing or replacing your 8N's hydraulic pump is involved. While a detailed service manual is indispensable, here's a general overview of the process:
- Disconnecting the System: Carefully disconnect hydraulic lines leading to the pump, using a drain pan and rags to collect spilled fluid. Label lines for accurate reassembly. Thorough labeling is critical for successful reassembly and prevents leaks or malfunctions.
- Removing the Pump: Carefully remove the pump assembly, taking photos or detailed notes to ensure accurate reassembly. Creating a video of the disassembly process can be incredibly helpful.
- Inspecting the Pump: Thoroughly examine the pump for damage, wear, or leaks. Minor problems, like worn seals, can be addressed individually. Severe damage often warrants a complete overhaul kit for maximum efficiency and reduced costs.
- Repair or Replacement: If only minor damage exists, repair the pump. For significant issues, replace it with a new or rebuilt unit, ensuring proper alignment to minimize stress and wear.
- Reassembly and Refill: Carefully reassemble, using your notes and photos as a guide. After pump replacement and line reconnection, refill the system with the correct type and amount of hydraulic fluid.
- Testing and Troubleshooting: After refilling, test the lift system thoroughly. Persistent issues require revisiting each step for error identification and correction.
Preventive Maintenance: Prolonging Pump Lifespan
Regular maintenance prevents major repairs and significantly extends pump lifespan. Implement these preventative measures:
- Fluid Level Checks: Regularly check the hydraulic fluid level. Low levels can cause cavitation (air in the system), damaging the pump.
- Fluid Changes: Change the hydraulic fluid according to the owner's manual recommendations. Fresh fluid maintains cleanliness and minimizes wear.
- Line Inspections: Periodically inspect hydraulic lines for damage (cracks, leaks, or kinks). Damaged lines cause pressure loss and may lead to pump failure.
Troubleshooting Common Pump Problems
Encountering persistent issues? This table offers common problem solutions:
| Problem | Possible Cause(s) | Solutions |
|---|---|---|
| No Lift | Low fluid, pump failure, blocked lines, worn parts | Check fluid, inspect pump, clear lines. Repair or replace components. |
| Weak/Sluggish Lift | Low fluid, worn seals, internal pump wear | Check fluid, replace seals, or overhaul/replace the pump. |
| Leaks | Worn seals, loose fittings, damaged lines | Replace seals, tighten fittings, replace damaged lines. |
| Whining Noise | Internal pump wear, low fluid | Repair or replace the pump; check fluid level. |
Remember, this is a general guide. Always consult your 8N's service manual for detailed instructions and specific diagrams. For complex repairs, seeking expert assistance is crucial. Prioritize safety throughout the entire process.